Customizing the results of Smart Search and JFilters

Smart Search is the default search engine in Joomla 4. In this post we are going to customize it’s results page layout, to make it more appealing. The same layout is used by JFilters as well, to show the results.
So our customization will affect both the results of the Smart Search and the JFilters component.
A cool feature, is that we can create sub-layouts for each specific content type of the results. That being said we are going to customize how our articles are being displayed. We will do that by utilizing the Joomla’s template overrides in the Cassiopeia template.
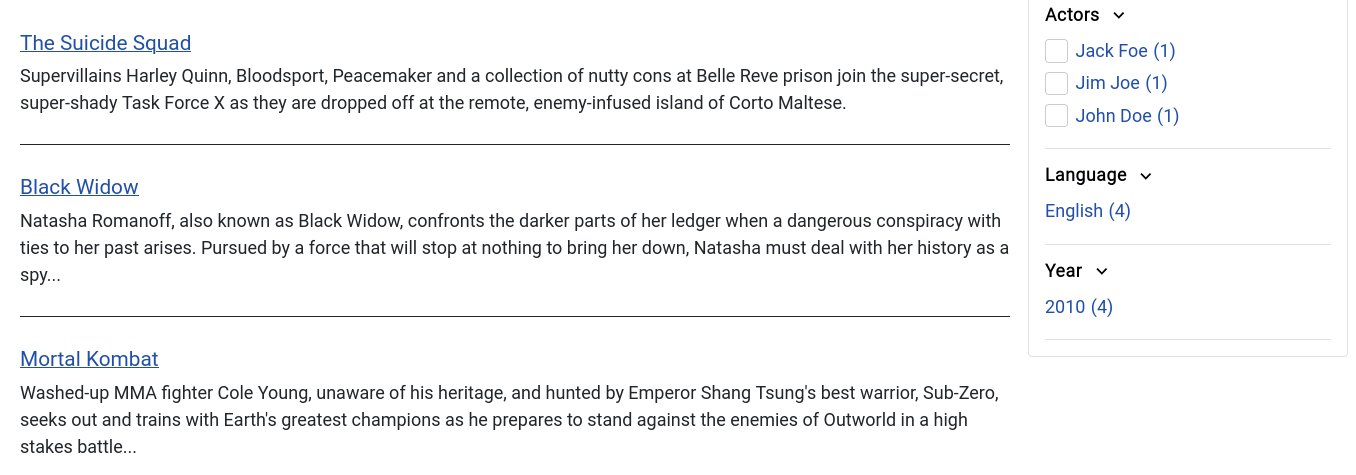
Before:
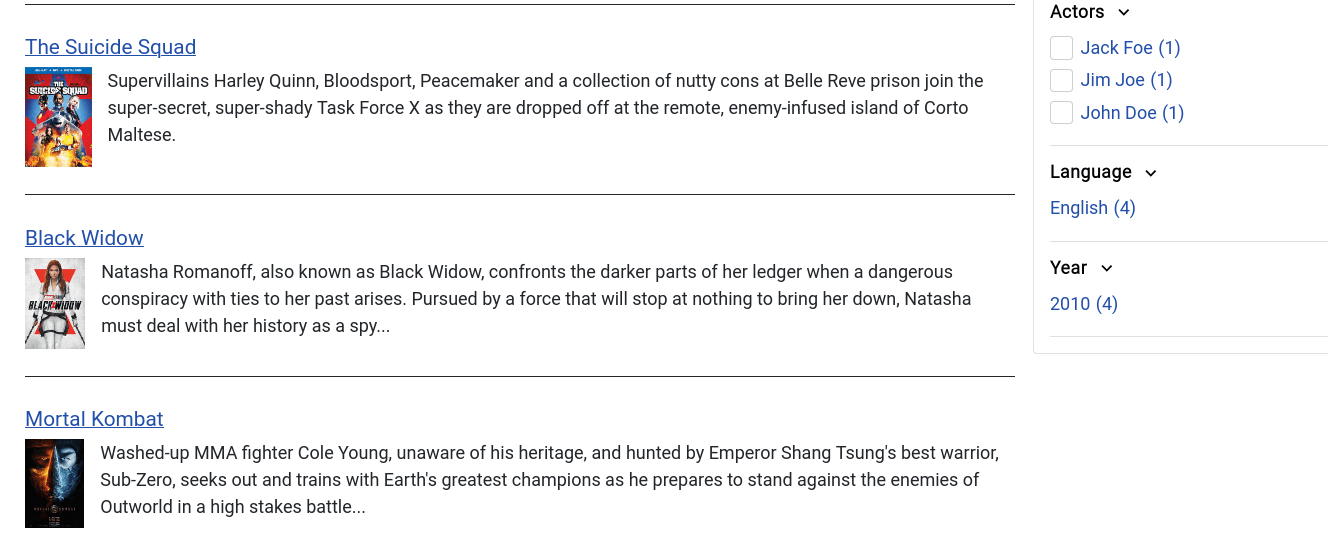
After:
Create the folder and the articles sub-layout
As mentioned we are going to create a layout for our article results, by using template overrides.
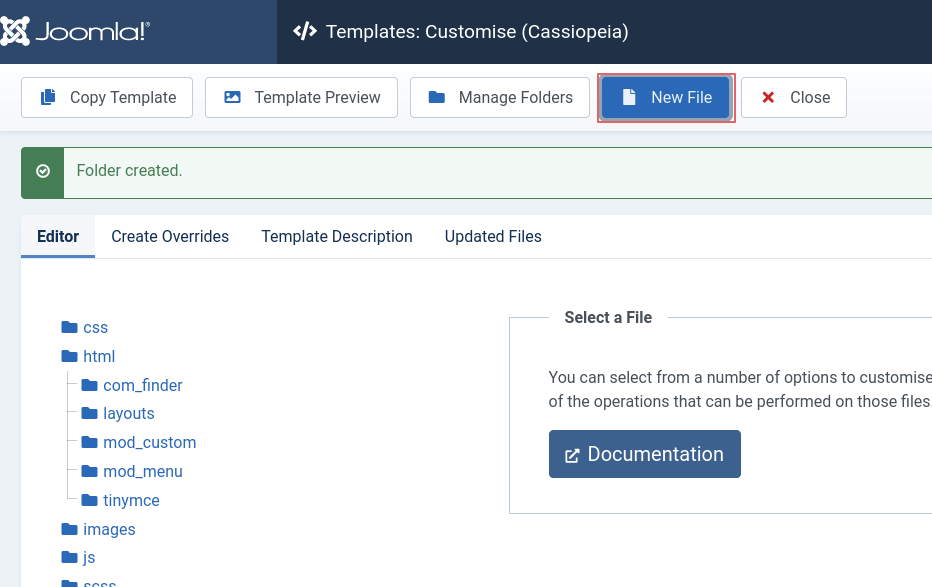
Navigate to System > Templates > Site Templates and then select Cassiopeia Details and Files.
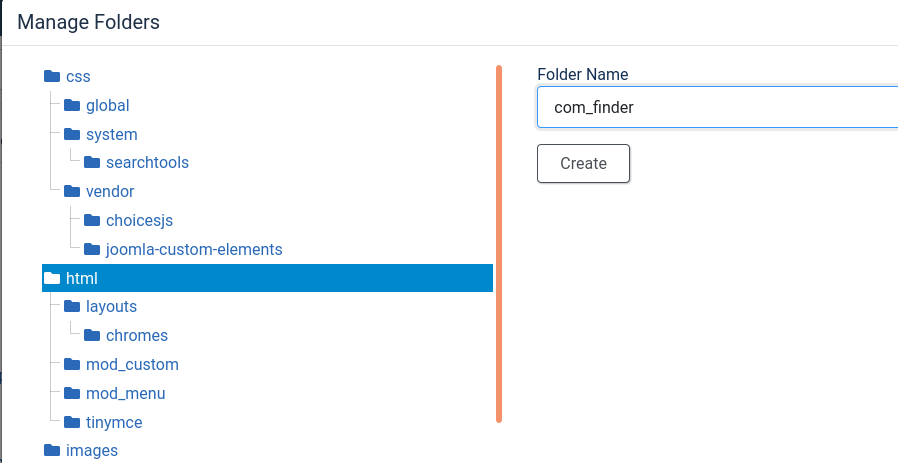
From there press the Manage Folders button.

Then create a folder within the html folder and name it com_finder.
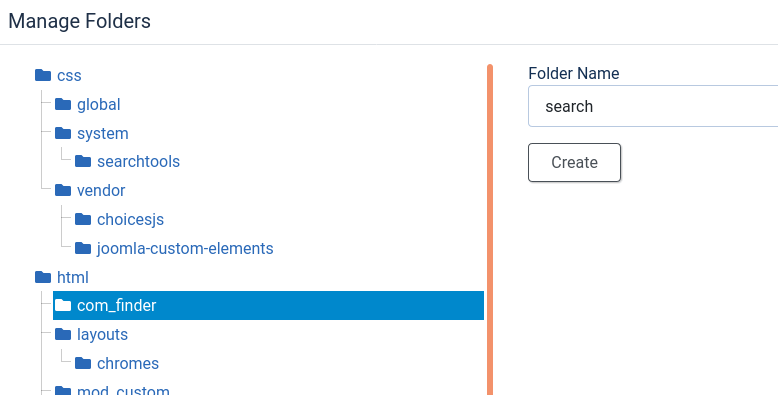
Create a new folder within the previously created com_finder folder and name it search.
After that we will create a New File within the com_finder/search folder.
Select php as File Type and name it default_article.
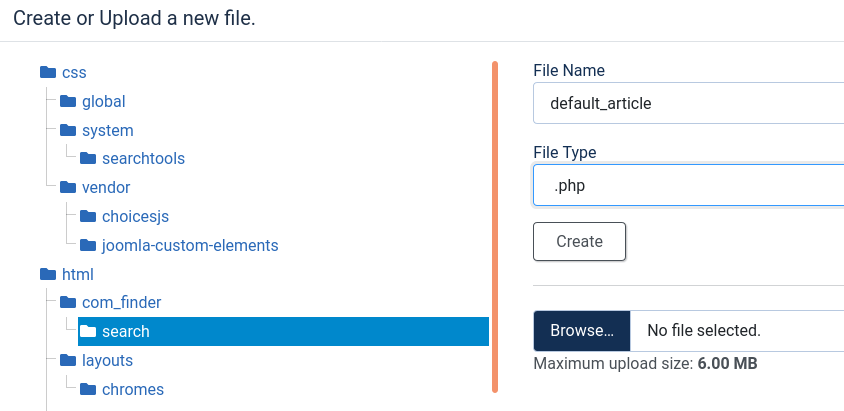
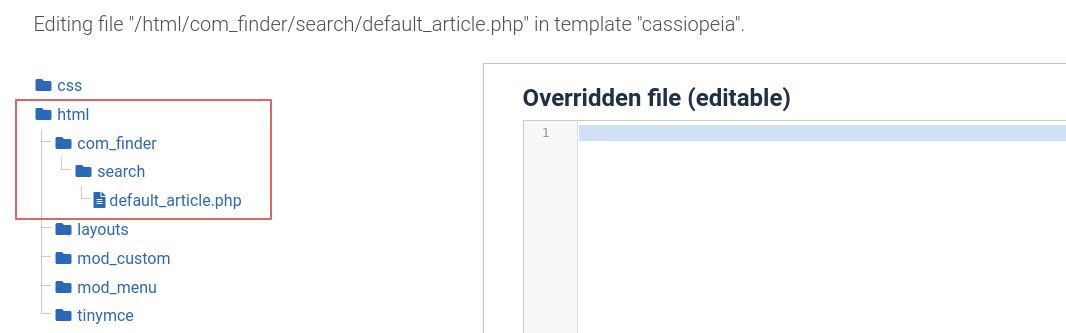
After finishing those steps you should have a file: html/com_finder/search/default_article.php in your template’s directory.
Adding code in our sub-layout
I start by copying the contents of the file: components/com_finder/tmpl/search/default_result.php into our new file. This file contains what is currently used for a result item.
To edit php code in the default_article.php, you can either use the template’s editor (loaded after selecting the file in the template) or an IDE of your choice. As a developer I prefer doing that through my favorite IDE.
Adding images
In the php section (lines 12-59) get the item’s intro image using the code snippet:
// Get the intro image
$images = json_decode($this->result->images);
$image_intro = !empty($images->image_intro) ? HTMLHelper::cleanImageURL($images->image_intro) : false;

// If there is no alt, use the article's title as alt
$image_alt = !empty($images->image_intro_alt) ? $images->image_intro_alt : $this->result->title;
$extraAttr = '';

// Set image attributes
if ((isset($image_intro->attributes['width']) && (int) $image_intro->attributes['width'] > 0)
 && (isset($image_intro->attributes['height']) && (int) $image_intro->attributes['height'] > 0))
{
 $extraAttr = \Joomla\Utilities\ArrayHelper::toString($image_intro->attributes) . ' loading="lazy"';
}
Now we can add the html code to display the image. After the <li element add:
<?php if ($image_intro) : ?>
    <figure class="result__image">
        <a href="/<?php echo Route::_($this->result->route); ?>">
            <img src="/<?php echo htmlspecialchars($image_intro->url, ENT_COMPAT, 'UTF-8'); ?>"
                 alt="<?php echo htmlspecialchars($image_alt, ENT_COMPAT, 'UTF-8'); ?>"
                <?php echo $extraAttr; ?>/>
        </a>
    </figure>
<?php endif; ?>
Voila! If we check our front-end and perform a search or a filtering, our articles have images.
Add some styling
We are going to style a result item by adding some Bootstrap classes. Also we will reorder our elements, moving the title at the top and the image and description beside each other.
To do that I will first move the intro image, after the title. Hence move the previously added html code snippet, after the
<p class="result__title">...</p>
Then I will wrap the image and the description to a new div which will be displayed as a flex using the bootstrap's d-flex class.
Our final code should look like:
<p class="result__title">
    <?php if ($this->result->route) : ?>
        <?php echo HTMLHelper::link(
            Route::_($this->result->route),
            '<span class="result__title-text">' . $icon . $this->result->title . '</span>' . $show_url,
            [
                'class' => 'result__title-link'
            ]
        ); ?>
    <?php else : ?>
        <?php echo $this->result->title; ?>
    <?php endif; ?>
</p>
<div class="d-flex">
    <?php if ($image_intro) : ?>
        <figure class="result__image me-3">
            <a href="/<?php echo Route::_($this->result->route); ?>">
                <img src="/<?php echo htmlspecialchars($image_intro->url, ENT_COMPAT, 'UTF-8'); ?>"
                     alt="<?php echo htmlspecialchars($image_alt, ENT_COMPAT, 'UTF-8'); ?>"
                    <?php echo $extraAttr; ?>/>
            </a>
        </figure>
    <?php endif; ?>
    <?php if ($show_description && $description !== '') : ?>
        <p class="result__description">
            <?php if ($this->result->start_date && $this->params->get('show_date', 1)) : ?>
                <time class="result__date" datetime="<?php echo HTMLHelper::_('date', $this->result->start_date, 'c'); ?>">
                    <?php echo HTMLHelper::_('date', $this->result->start_date, Text::_('DATE_FORMAT_LC3')); ?>
                </time>
            <?php endif; ?>
            <?php echo $description; ?>
        </p>
    <?php endif; ?>
</div>After following all the steps, our front-end results should be like this: